The Ultimate Garage Setup Checklist (2026): Build a Clean, Functional, High-End Garage

1. Start With Your Lighting Plan (This Is the Foundation)
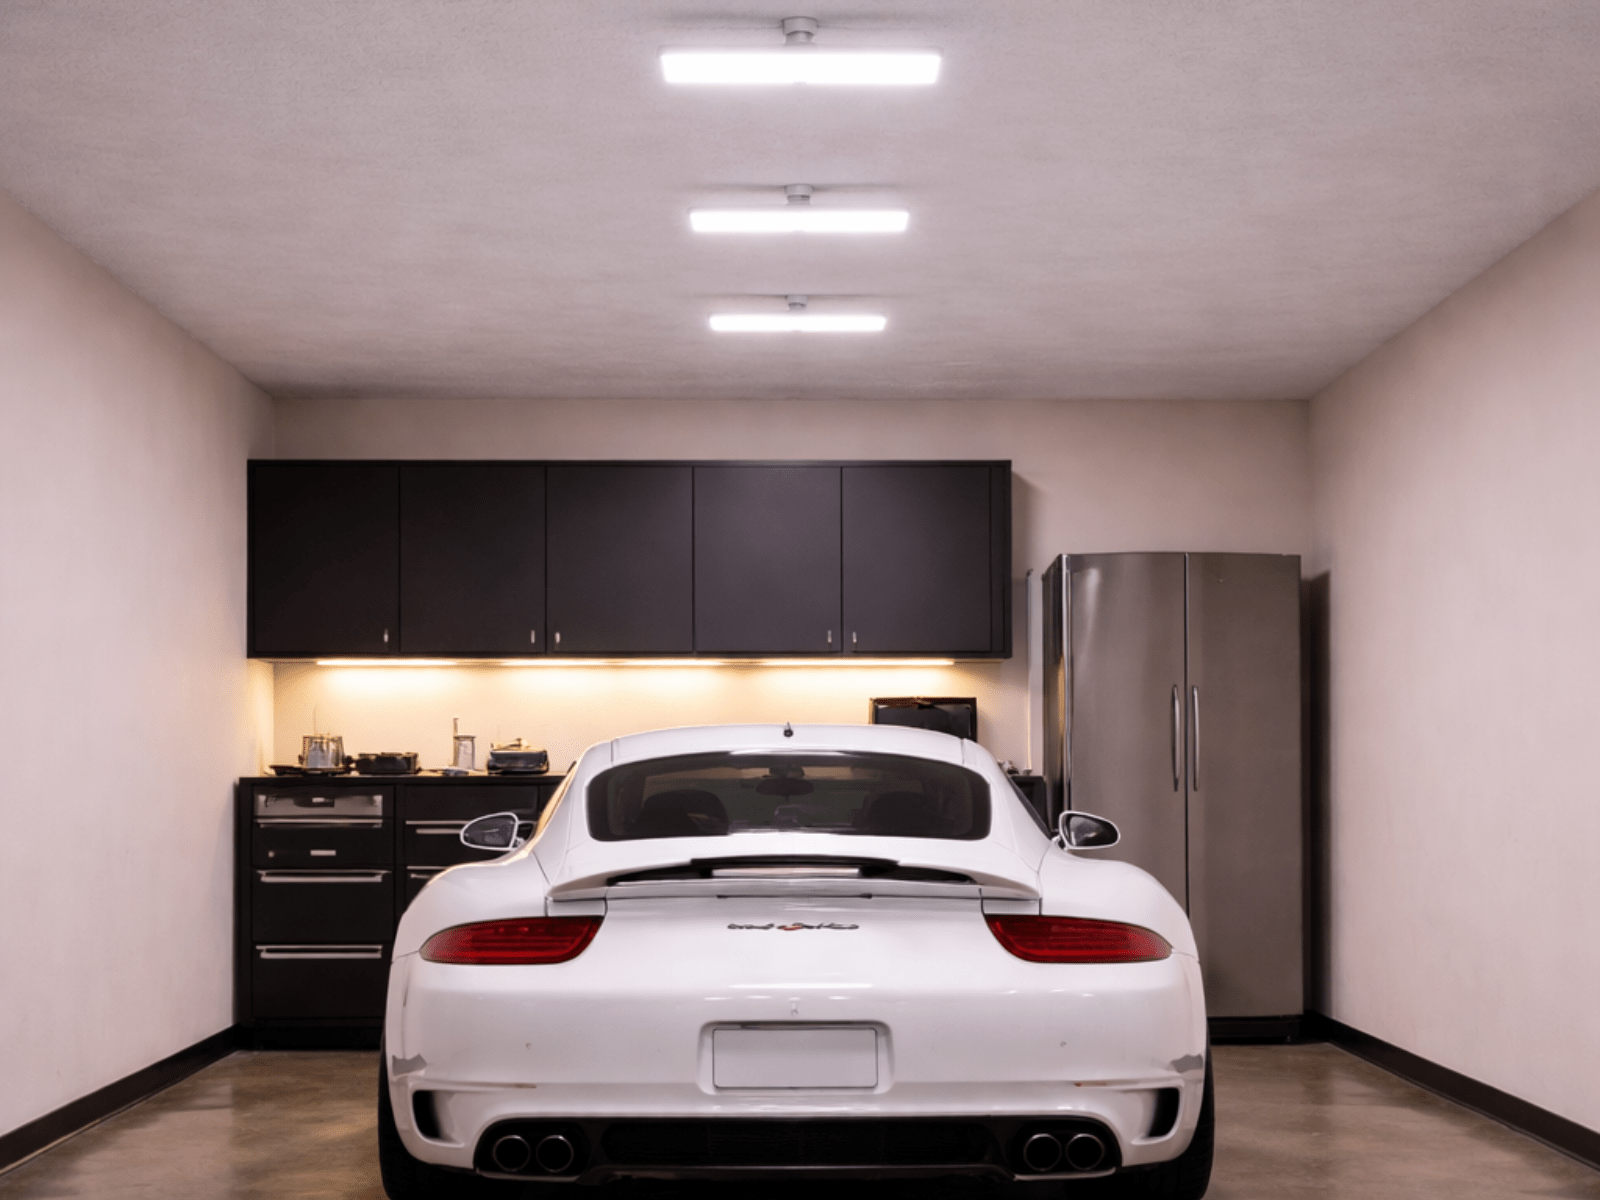
Before anything else, your garage lighting needs to be dialed in.
Lighting controls:
- how your space looks
- how large it feels
- how functional it is
Most people treat lighting as an afterthought—which is why their garage never feels complete.
A strong setup starts with understanding your garage lighting ideas and how to create even, consistent coverage across the entire space.
👉 Learn more here:
garage lighting ideas
Pro tip:
If your lighting isn’t right, nothing else will look right—no matter how much you upgrade.

2. Define Your Layout Before Adding Anything
One of the biggest mistakes is adding items before planning your layout.
You need to decide:
- where your car sits
- where your work area is
- where storage will go
Without this, your garage ends up feeling crowded and unbalanced.
Why this matters:
Layout determines flow. Flow determines how usable—and how clean—your garage feels.
3. Keep the Floor Clean and Intentional
Your floor is one of the most visible parts of your garage—and one of the most overlooked.
A cluttered or worn floor:
- absorbs light
- makes the space feel smaller
- reduces the impact of everything else
A clean, open floor instantly improves the entire garage.
Checklist:
- remove unnecessary items
- keep floor space visible
- consider finishes that reflect light
4. Build Your Storage System the Right Way
Storage isn’t just about fitting things—it’s about how they’re displayed.
Most garages fail here by:
- stacking bins
- mixing storage styles
- overcrowding walls
Instead, focus on:
- vertical storage
- clean alignment
- grouping similar items
If you’re unsure what to avoid, review these common garage design mistakes before finalizing your setup:

5. Create a Consistent Design Style
A high-end garage always feels cohesive.
That comes from:
- consistent colors
- matching finishes
- minimal visual noise
Too many styles or colors create a chaotic look—even if everything is “nice” individually.
Best approach:
- stick to neutral tones
- limit accent colors
- keep everything aligned visually
6. Focus on What Actually Makes It Feel “High-End”
A premium garage isn’t about having more—it’s about having the right elements working together.
The biggest difference-makers are:
- lighting
- spacing
- consistency
If your goal is a showroom-style garage, these garage makeover ideas will help guide your upgrades:
7. Optimize for Space (Especially in Smaller Garages)
Even a small garage can feel open and clean if it’s designed correctly.
Key principles:
- maximize vertical space
- keep the floor clear
- use lighting to eliminate shadows
If space is tight, these small garage ideas will help you get the most out of your setup:

8. Eliminate Anything That Doesn’t Serve the Space
One of the final steps—and most important—is removing what doesn’t belong.
Ask yourself:
- does this improve the space?
- does it match the design?
- does it serve a purpose?
If not, it’s likely hurting the overall look.
Final Thoughts
A great garage doesn’t happen by accident—it’s built through a series of intentional decisions.
When lighting, layout, storage, and design all work together, the result is a space that feels complete—not just functional.